
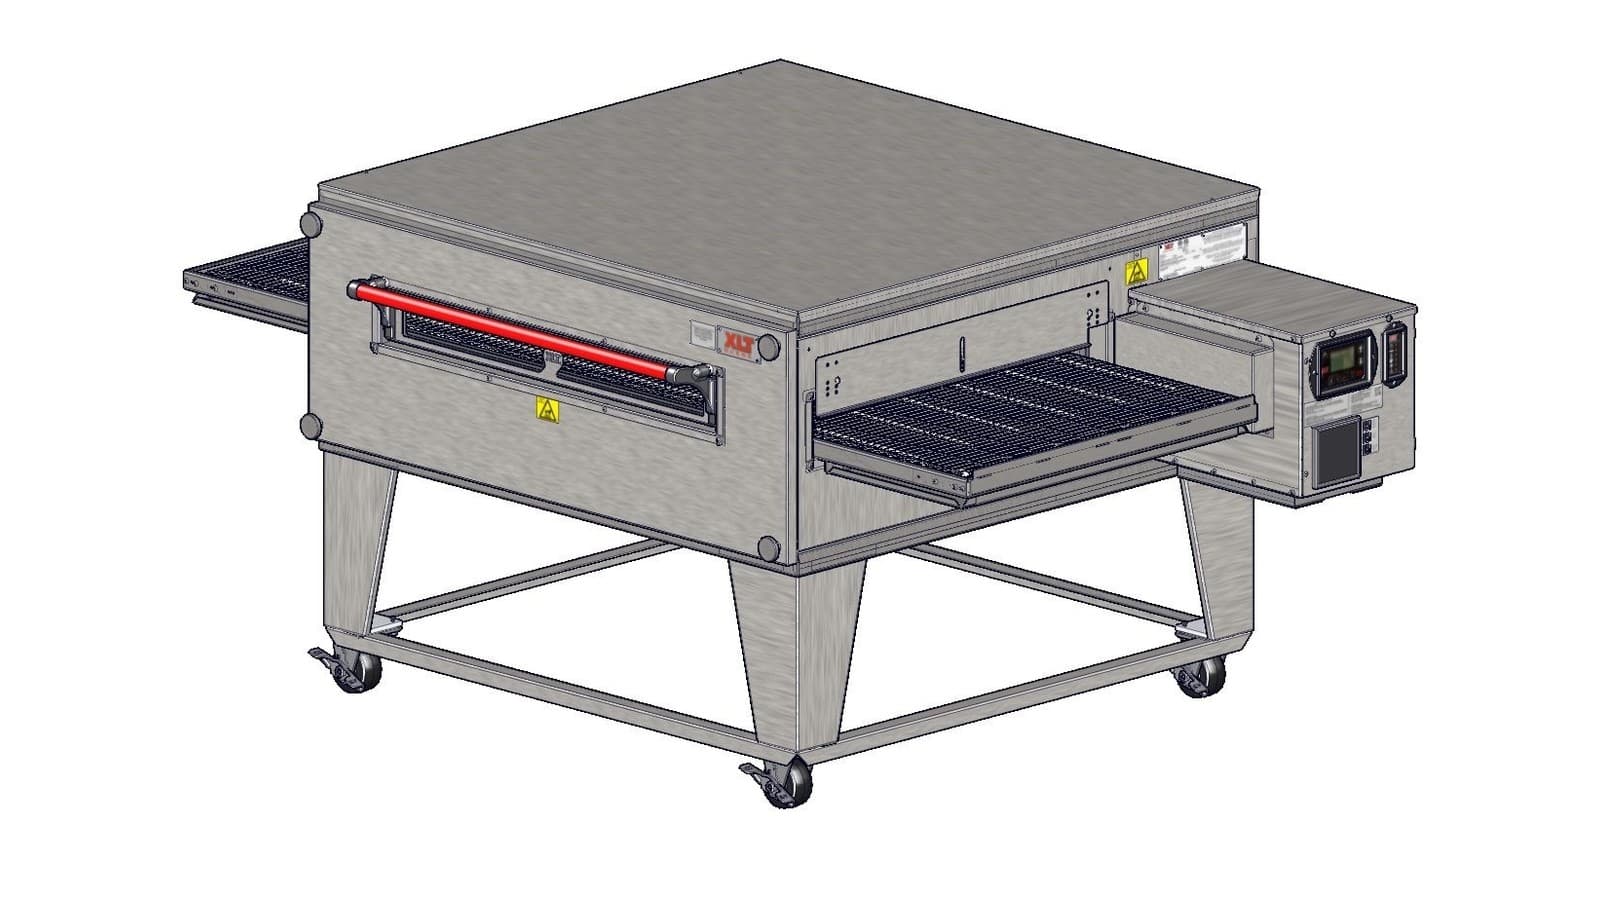
This guide walks through daily operation, temperature and belt speed settings, cleaning routines, and basic troubleshooting for XLT conveyor pizza ovens, using the manufacturer's installation and operation manuals. From start-up to error codes, every step is covered.
Key takeaways
- XLT ovens come preset to 500°F and a 5-minute belt time; operators fine-tune these to suit their menu.
- The daily routine includes turning the oven on with a single button press, setting bake parameters, and powering off at shift end.
- A regular cleaning schedule—emptying crumb trays, wiping surfaces, cleaning fan filters—is essential for safe operation and is detailed in the maintenance checklist.
- When error codes appear, consult the troubleshooting table in the manual and try a hard reset before calling for service.
- For belt tension adjustments, use the manufacturer's video "XLTip - How to Tighten Conveyor Belt" and the Parts and Service Manual.
Understanding your XLT oven models and controls
XLT conveyor (impingement) ovens are built in several belt widths and chamber lengths. The XLT ovens we list include the 1620 Countertop (16-inch belt, 20-inch chamber), the 1832, 2336, 2440, 3240, 3255, and 3270 series, available in single, double, and triple-stack configurations and as both electric and gas-fired models. Each oven's data plate lists voltage, phase, amperage, and gas type where applicable.
These ovens use either the Version H control package (electric ovens, with an Integrated Control Package – LUI – or the newer XLT OMC) or the Version G control package (gas ovens, also with a LUI). While the touch points vary slightly, the basic operation—power on, set temperature, set belt time—is the same across both versions. The manufacturer provides separate Installation and Operation Manuals for each oven version and fuel type.
Daily start-up and shut-down
Before first use, a qualified installer must complete the start-up checklist found in the Installation and Operation Manual and return it to XLT Ovens. All utility connections—gas, electrical, and ventilation—must comply with local building codes and the manual's specifications.
To start the oven, hold the Power button for one second until the display lights, then press the Enter button to confirm. The oven will begin its warm-up cycle. Do not attempt to operate the oven during a power failure; the control system is not designed to safely restart under those conditions.
At the end of the day, hold the Power button for one second to shut down the oven. The manual advises that all ovens ship with a default bake time of 5:00 minutes and a temperature of 500°F (260°C); these settings can be changed as needed.
Setting temperature and belt speed
Temperature and belt time are adjusted from the main screen. To change temperature, press the TEMP button for three seconds, use the Up or Down arrow to reach the desired value, then press Enter to save. For belt time, press the TIME button for three seconds, adjust with the arrows, and press Enter. On split-belt ovens, pressing TIME a second time toggles between the front and rear belt speeds.
All XLT ovens can operate within a temperature range of 300°F to 590°F (150°C to 310°C). Belt time limits vary by model family: for the 1832 series, the minimum is 1:30 and maximum 17:00; for the 2336 through 3255 series, the range is 1:30 to 20:00. The control can also be locked against changes and switched between Fahrenheit and Celsius, as the manual describes.
Experimenting with time and temperature is the only way to achieve proper doneness; as a rule, lowering the temperature and slowing the belt (i.e., increasing cook time) will raise internal food temperatures without burning the outside.
Cleaning and routine care
Before any cleaning, the oven must be cool and the electric cord unplugged. The maintenance schedule in the manual lists tasks on a daily, weekly, monthly, and semi-annual basis. Daily duties include emptying the crumb trays, wiping down all exterior surfaces (front, sides, top, control box and control panel), cleaning the fan filters, and removing large debris from the conveyor.
The fan filter is critical for cooling the control box. When it needs cleaning, a warning appears on the display: 'FILTER' on the LUI or 'CLEAN FANFILTER' on the OMC. After washing the filter, reset the timer on the LUI by pressing MENU, then ENTER; on the OMC, press Resolve, then Reset. If you need to delay cleaning, the OMC lets you choose a delay in hours.
Weekly, inspect the fan filters for dirt, check the wire belt for stretch, and inspect the conveyor drive roller chain. Monthly, clean the finger outers and the inside of the bake chamber, and lubricate the window pins with food-grade grease. When removing the front panel for deeper cleaning, be aware it can weigh up to 66 lb (30 kg). The sandwich door uses strong rare-earth magnets; individuals with pacemakers should avoid handling those magnets.
If the wire belt touches the top of the conveyor opening when pulled up at the centre, it has stretched. The video 'XLTip - How to Tighten Conveyor Belt' shows how to remove a link and reassemble the belt. Always follow the Parts and Service Manual for complete wire belt adjustment instructions.
Understanding error messages and basic troubleshooting
When the oven displays a fault code, start with a few operator checks. Verify that the power cord is connected and the building circuit breakers are on. For gas ovens, check that the manual gas valve is fully open—the handle should be parallel with the gas piping—and that the quick-disconnect fitting is properly engaged.
Common LUI error codes include Over Temp (temperature 50°F/10°C above set point for more than one minute), Under Speed (belt speed more than 30 seconds slower than the set point), and Belt Jam (motor speed drops below 25% of the recent minimum). The troubleshooting tables in the manual recommend a hard reset for many of these: power down, unplug the oven for one full minute, then plug it back in and restart.
If the error persists, note the exact code and call XLT customer service. The manual's tables provide specific checks—for a Belt Jam, look for obstructions and inspect the drive chain and sprocket; for a Main Fan High Amps error, check whether circuit breaker CB1 has tripped. Always refer to the manual that matches your oven's version and fuel type.
When to call for service
Maintenance beyond the cleaning and operator checks above is for a factory representative or a local service company familiar with XLT equipment. Contact XLT before calling any repair company, with the model and serial number from the data plate and the exact error code to hand; XLT directs you to an authorized service provider.
Videos from the maker
Common questions
How do I turn on my XLT conveyor oven?
- Hold the Power button for one second, then press the Enter button to confirm start-up. The oven will begin its warm-up sequence.
What temperature and bake time does the oven use out of the box?
- Every XLT oven ships with a default set point of 500°F (260°C) and a belt time of 5:00 minutes. These values can be changed to suit your menu.
How often should I clean the fan filter?
- The fan filter should be cleaned daily. The oven will display a 'FILTER' or 'CLEAN FANFILTER' alarm when a cleaning is due. After cleaning, reset the timer using the menu.
What does an “Under Speed” error mean and what should I do?
- An Under Speed error indicates the conveyor belt is moving more than 30 seconds slower than the set point. Check the drive chain and sprocket for proper condition, then perform a hard reset (unplug the oven for one minute). If the error returns, contact XLT customer service.
How do I tighten a loose conveyor belt?
- Pull up on the centre of the belt at the conveyor opening; if it touches the top of the opening, links must be removed. The video 'XLTip - How to Tighten Conveyor Belt' shows the procedure step by step. The Parts and Service Manual also explains wire belt adjustment.