
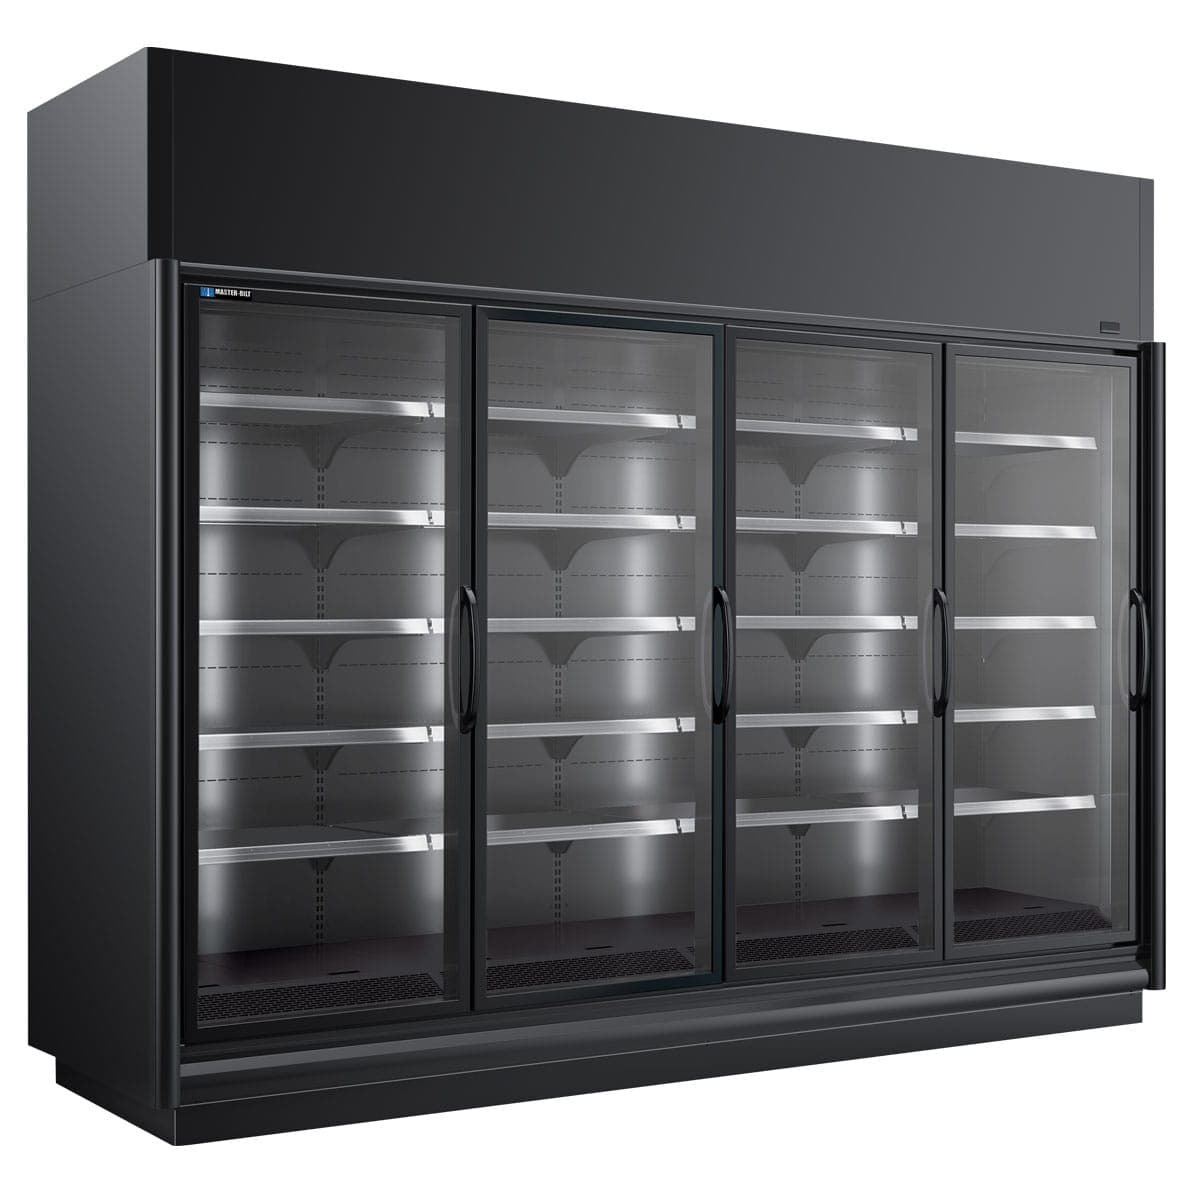
Install Endless cases level and joined with butyl sealant in a store at or below 75°F with relative humidity of 55% or less, plumb each case to its own drain, and load product no sooner than 6 hours after start-up. Dipping cabinets run on a #1 to #9 dial and get a baking soda wash every 30 to 60 days.
Key takeaways
- Endless merchandisers come in BEL low-temp (0 to -15°F) and BEM medium-temp (34 to 41°F) lines, in 2- to 5-door sizes with remote, complete package, R290 self-contained and semi-self-contained versions.
- Master-Bilt's manuals call for a store at or below 75°F with relative humidity of 55% or less, and 4 in. of clearance behind cases set against a wall.
- Cases must be perfectly level before joining with butyl sealant, and the T-rail goes in place before the cases are bolted together.
- Load product no sooner than 6 hours after start-up, never soft or partially thawed, and rotate stock first-in, first-out.
- Dipping cabinets use a #1 to #9 dial and are washed every 30 to 60 days with 1 teaspoon of baking soda per quart of water; refrigeration and electrical work belongs to qualified, licensed installers.
The Master-Bilt lines at a glance
The Endless glass-door merchandiser family splits by temperature. BEL models are low temp, holding 0 to -15°F (-18 to -26°C); BEM models are medium temp, holding 34 to 41°F (1 to 5°C). Each comes in 2-, 3-, 4- and 5-door sizes (BEL-2-30 through BEL-5-30, BEM-2-30 through BEM-5-30) with 10, 15, 20 or 25 shelves, a 135 lb rating per shelf and an insulation R-factor of 20.0.
Each size comes in four system versions. The base model is a remote cabinet only, with the condensing unit ordered separately through Master-Bilt's Split-Pak. The CP complete package is self-contained and ships complete, the CU version is self-contained on R290, and the SC version is semi-self-contained. Remote cabinets use R-448A/R-449A, CP and SC use R-404A or R449A, and all are hardwired: the model list shows CP, CU and SC at 208-230VAC/60/1 and remote cabinets at 120/208-230VAC/60/1.
On the dipping side, DD dipping/display merchandisers hold 5 to -5°F (-15 to -21°C) with standard, low glass (L) and low curved glass (LCG) tops. DC conventional storage/dipping cabinets and FLR topping centers hold 10 to -10°F (-12 to -23°C). All run R290 on 115/60/1 cord and plug, with a 10 ft 16/3 NEMA 5-15P cord on DD, 9 ft 14/3 on DC and 8 ft 14/3 on FLR, and all list an insulation R-factor of 19.40.
Receiving the cases and picking the location
The video 01 Endless Install-Unpacking and Inspection says to check the delivery receipt for the number of pieces, inspect every piece as soon as unpacking is done, and look for torn shrink wrap or pierced cardboard. The BEL/BEM manual adds to inspect all cartons and crates as soon as they arrive, note any damage or shortage on the bill of lading before signing, and follow up concealed damage with a written report while keeping the crating for the inspector. The BEM-BEL-CU manual requires a forklift with minimum 60 in. tines and says to leave the protective gear on the edges and corners and the wrapping in place until the cases are ready to be bolted together at their final spot.
For location, the video 03 Endless Install-Determining Location and both Endless manuals agree: keep cases out of direct sun and away from radiant heat or airflow, and do not build them into an enclosed area. Against a wall, allow at least 4 in. between the wall and the back of the case, 4 in. of open space at the top and 1 in. on each end so air can circulate and exterior condensation is prevented. Confirm the floor can support the lineup without sagging, clean the area, then measure the lineup and snap chalk lines where the base skids sit.
Store conditions matter. The Endless manuals and both dipping cabinet manuals, which list the DD and DC/FLR cabinets as climate class 8, call for a store temperature at or below 75°F and relative humidity of 55% or less. Above those figures, the manuals say performance may be affected and capacity diminished, and new stores often sweat until the room settles.
Levelling and joining the lineup
The video 05 Endless Install-Leveling Cases calls levelling the most crucial step, and the manuals tie it to evaporator drainage and case-to-case alignment. Position each case on the chalk lines, lifting along the metal supports at the bottom, place the supplied hat channels under the skids, and shim from a level held against the front until the case is level. The manual's method is to use a transit to find the highest point on the chalk lines, mark the difference at each joining point, shim every joining point to equal that reference, tape the shims, and install the highest case first.
Check the work at the door tops. The video says the tops of the doors should align precisely, and any unevenness or stair-stepping means the cases are not level.
For joining, the video 06 Endless Install-Joining Cases and the manuals say to remove the shelves, rear plenum and coil cover at the end of the case being added, then tape the T-rail in place before the cases are sealed together, because fitting it afterwards damages the T-rail. Apply a generous bead of butyl sealant to all exposed foam edges and inspect it for gaps, then bolt the cases through the five holes in the end frame, tightening until the seams close without overtightening. Bolt the door frames together with the supplied bolts, keeping the gasket strips intact; the CU manual adds a small bead of butyl behind the gasket strips. To meet NSF requirements, the BEL/BEM manual says the cabinet must be sealed to the floor with NSF listed silicone sealant, and the dipping manuals allow 6 in. minimum legs, casters or a sealed base instead.
Plumbing and electrical connections
The video 08 Endless Install-Plumbing shows the pre-assembled condensate drain kit: a 90-degree elbow, threaded fitting, barbed fitting and trap. Connect the supplied flexible hose to the barbed fitting and then to a drain or condensate pump, and give each case its own drain or pump. The manual says the kit connects to the bottom middle of the cabinet, lists two 90-degree elbows, warns that the trap must be installed or performance suffers, and notes the kickplate must come off to see the piping.
The manual's drain rules are to install drains in accordance with local codes, use the largest possible pipe with a one inch minimum, provide as much downhill slope as possible, and keep drains away from uninsulated suction lines so they cannot freeze.
The video 09 Endless Install-Wiring states that condensing units on Endless cases require 230-volt, single-phase power. It shows four wires from the case's electrical box, with red and black to the T1 and T2 positions on the contactor, blue to the resistor and green to the ground lug, and supply voltage wiring to a customer-supplied disconnect box on top of the case, with voltages verified before start-up. The manuals are blunt: never use an extension cord, and installation and service of refrigeration and electrical components must be performed by a refrigeration mechanic and/or a licensed electrician. A qualified, licensed installer must make the final connection to local code, and the CU manual notes the disconnect is installed in the field.
Start-up, set points and loading
The Endless electronic control shows the measured temperature during normal operation. To change the set point, press SET for 1 second, adjust with UP or DOWN, and press SET to confirm. Press UP for more than 3 seconds to switch the control off, press DOWN for more than 3 seconds for a manual defrost, which the manual says starts only when temperature conditions are valid, and press UP and DOWN together for more than 3 seconds for a continuous cycle. The parameter menu behind SET for 3 seconds and password 22 is installer territory.
Factory settings from the manual's parameter list are a set point of 35°F on BEM and -13°F on BEL, with the time between defrosts set at 6 hours on BEM and 8 hours on BEL. The starting procedure and final checklist, covering the holding range against the control setting, ice removal from the coil on each defrost, pressures, roughly 10°F superheat at the thermostatic expansion valve, the sight glass and P-traps on refrigeration and drain lines, are for the installing technician.
Loading rules from the manuals: no product for at least 6 hours after the case is started, never product that is soft or partially thawed, stock cases quickly, and rotate first-in, first-out.
Dipping cabinets use a dial from #1, the warmest setting, to #9, the coldest, turned in line with the punch mark near the condensing unit. The DC/FLR manual says the control is pre-set, to turn clockwise for colder, to wait at least four hours before readjusting, and to let the cabinet pull down and cycle off at least three times before loading. The DD manual recommends a separate 20 amp fuse circuit for each cabinet and says the unit is designed for plus or minus 10% of 115 volts, or 103 to 126.5 volts.
Cleaning and routine care
For Endless cases, the manuals say to wipe up spills, clean with water and a mild detergent, and rinse with clean water. The BEL/BEM manual's door notice matters for the anti-fog glass: no silicone-containing materials, no tape, glue, stickers, attachments or markers on the coating, no razor blades or mechanical devices, and no abrasive cleaners.
For DD cabinets, the manual says that every 30 to 60 days depending on frost accumulation, the cabinet should be emptied, warmed up and wiped down with 1 teaspoon of baking soda in 1 quart of water, and that strong soaps and detergents should be avoided because they leave odours. Never remove frost with a knife, pick or sharp object, and no abrasive or caustic cleaners or scouring pads; if the power cannot be turned off, lay plastic sheeting on the floor of the cabinet and use a plastic scraper. The floor drain exits at the lower rear with a garden hose fitting. Frost shields come off at roughly 1/2 to 1 in. of frost, about two to three days, by lifting them from the keyhole slot; rinse under running water, dry and replace.
For DC/FLR cabinets, wipe the exterior with mild detergent and warm water, rinse and dry with a soft cloth. For the interior, remove product, unplug, pull the cap and drain plug, attach a garden hose and route it to a floor drain while the cabinet defrosts, wash with mild detergent and warm water, rinse, dry, then replace the cap and plug and let the cabinet reach operating temperature before restocking.
For condenser and drain care, the DD manual includes air filter cleaning instructions and a draining system section, so follow those steps in that document. The manuals' notice to owners says moisture or liquid around any cabinet is a slip hazard and must be investigated immediately by qualified personnel to determine whether the cabinet is malfunctioning or a drain is leaking. On CU cases, the condensate collection pan sits at the top of the unit with tubing down to the pump, and the manual says to cap the pump's blue auxiliary wires together.
Troubleshooting and service
Operator-level checks the manuals support include sweating on new installations until the store reaches design conditions, sagging or sawtooth doors on Endless cases, frost build-up on DD frost shields, and moisture under a cabinet, which points to a drain problem. The CU manual describes two door adjusters: the front adjuster turned counterclockwise increases closing tension, and the interior adjuster raises or lowers a corner to fix the sawtooth effect between sagging doors. The DD and DC/FLR manuals each include a troubleshooting guide, so start there.
For the technician, the DD manual lists operating pressures with R290 at 75°F ambient: suction of 1 to 5 psig on DD-26, DD-26L, DD-26LCG, DD-46, DD-46L and DD-46LCG, and 2 to 4 psig on the DD-66 and DD-88 groups, with head pressure of 130 to 160 psig.
These cabinets use flammable R290 refrigerant. Both dipping manuals say all service should be performed by factory authorized personnel with like components, and that technicians should hold EPA 608 Type 1 certification, use ventilation when opening a circuit, control ignition sources and keep a dry chemical or CO2 fire extinguisher at the charging area. Repairs go through the manufacturer's authorized service network, and for questions about a model, ask Norpex.
Videos from the maker
Common questions
What clearances do Master-Bilt Endless cases need?
- The manuals call for at least 4 in. between the wall and the back of the case, 4 in. of open space at the top and 1 in. on each end, with the case kept out of direct sun, radiant heat and airflow and not built into an enclosed area.
How soon can I load product after start-up?
- The manuals say to wait at least 6 hours after the case is started, never to load product that is soft or partially thawed, and to rotate stock first-in, first-out.
How do I set the temperature on an Endless case?
- Press SET for 1 second, change the value with UP or DOWN and press SET to confirm. The manual's factory set points are 35°F on BEM and -13°F on BEL, with defrost intervals of 6 and 8 hours respectively.
How often should a dipping cabinet be cleaned?
- The DD manual says every 30 to 60 days depending on frost accumulation, emptied and wiped with 1 teaspoon of baking soda in 1 quart of water. Frost shields should be rinsed off at roughly 1/2 to 1 in. of frost, about every two to three days.
Who should install and service these cabinets?
- The manuals require a refrigeration mechanic and/or a licensed electrician for installation and service, and all repairs should go through the manufacturer's authorized service network. A qualified, licensed installer must make electrical connections to local code.