
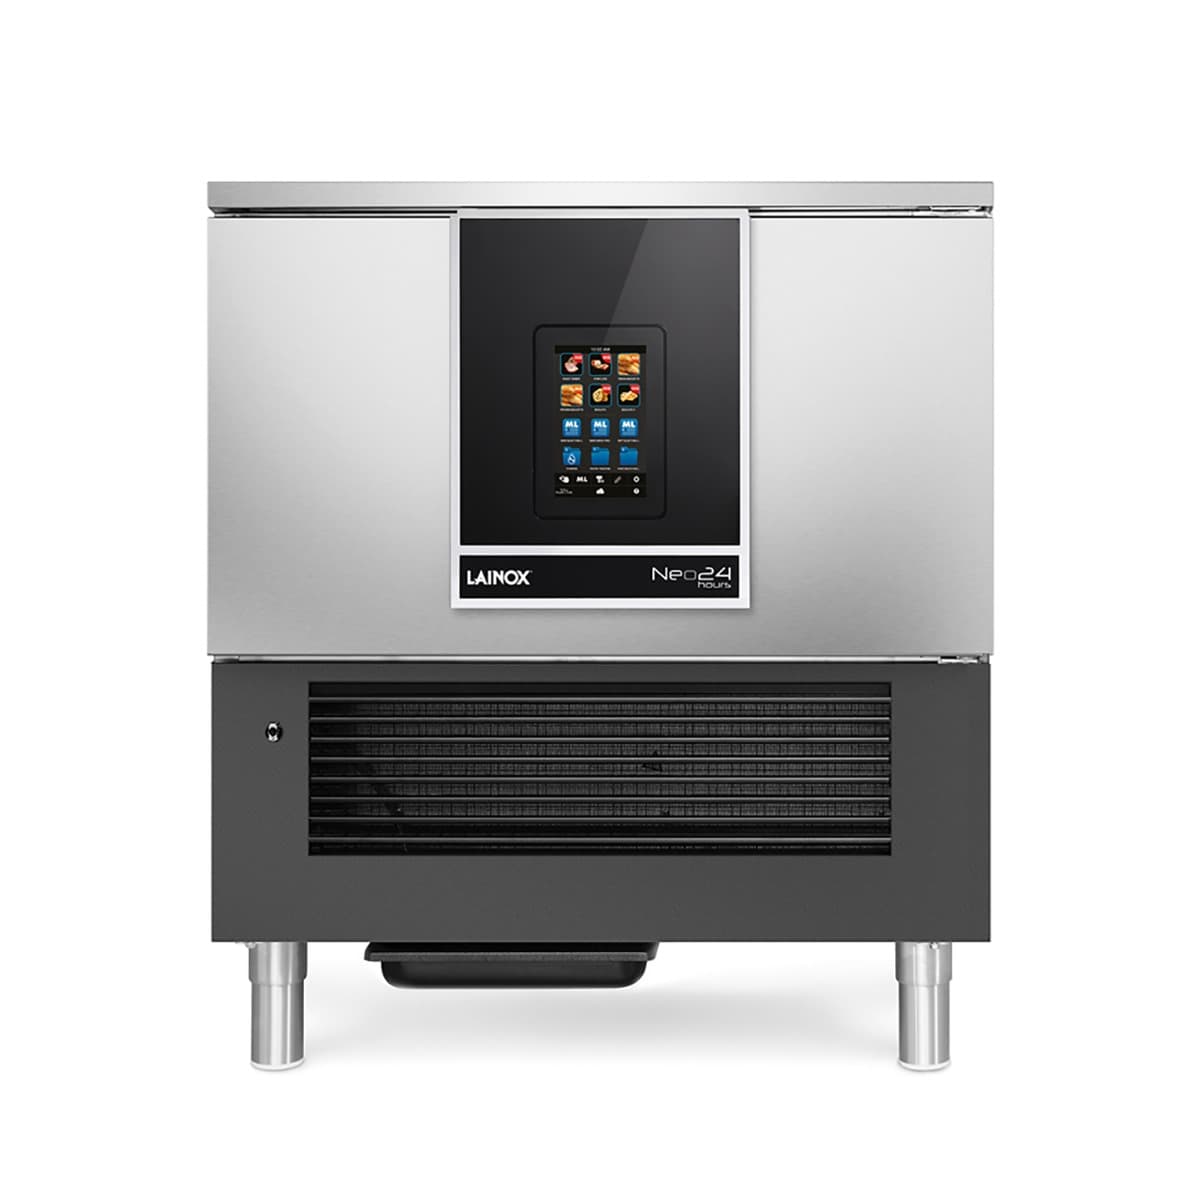
Learn how to properly install your Lainox NEO blast chiller, run blast chilling, shock freezing, and slow cooking cycles, and perform routine care to keep the unit working safely and efficiently.
Key takeaways
- Always have a qualified, licensed installer handle electrical and drain connections to local code.
- Use the needle probe for core-temperature chilling and cooking; insert it to the food's centre without touching bone or fat.
- Precool the chamber before blast chilling and preheat before slow cooking for consistent results.
- Clean the chamber daily, wash the vent filter weekly and keep the defrost water drain hole clear.
- For any malfunction, disconnect power and contact Lainox's authorized service network; do not attempt repairs yourself.
Understanding your Lainox NEO blast chiller
Lainox NEO blast chillers rapidly lower the temperature of fresh or cooked food to preserve organoleptic qualities and safety. The NEO series includes models such as the NEO051, NEO052, and NEO24 R290 units, as well as the NEOG051, NEOG084, NEOG121, NEOG124, and NEOG161. Each model combines blast chilling, shock freezing, slow cooking, thawing, and leavening functions in a single piece of equipment.
According to Lainox's use and maintenance manual, positive chilling is for food that will not be eaten within two hours of preparation: it reduces the food's core temperature to +3°C (37.4°F) within 90 minutes. After the cycle, the product must be stored in a refrigerator at 0 to +3°C (32 to 37.4°F) and can be kept for up to 5 days. Negative chilling, or shock freezing, brings the core to -18°C (-0.4°F). The food then goes into a freezer at -20°C (-4°F) and may be stored for 3 to 18 months, depending on the product, provided the cold chain is maintained.
The same manual explains that the slow cooking function uses low temperatures over long periods to keep meat tender and reduce weight loss. The thawing function returns frozen products to a positive temperature in a controlled way that meets HACCP standards. Leavening retarder cycles manage temperature, humidity, and time for bread and bakery doughs, allowing bakers to prepare dough during the day and schedule leavening to finish when needed.
Installation and placement
Lainox's use and maintenance manual leaves the electrical and water connections to a qualified installer working to local code; what it asks of the kitchen is about placement and air. Never obstruct the air vents, which the compressor and evaporator need, keep the motor compartment vents free of objects and dust, and keep the defrost water drain hole clear. Cleaning water drains into the collection tank at the bottom of the unit, or straight into the drain siphon where one is installed.
A unit on wheels cannot be levelled, so the surface under it must be perfectly horizontal and flat, and the wheels must always be locked with their stops; push it gently when moving it. Do not hang on the doors. In case of fire, do not use water: the manual calls for a CO2 extinguisher and cooling the motor compartment as quickly as possible.
Daily operation: starting a manual cycle
To start a manual blast chilling or shock freezing cycle, press the Manual mode icon on the touchscreen. Select the desired mode: Shock Freezing, Blast chilling, or Slow cooking. The unit starts with a default temperature for that mode and an infinite time, and a timed process is set by default.
You can customize the set temperature by scrolling on the touchscreen or using the [+] and [-] buttons. Choose between a timed process or a core probe process by pressing the relevant key. When using the core probe, insert the needle probe fully into the food so its tip reaches the centre, avoiding fatty areas and bones. For thin items, insert the probe parallel to the support surface. Set the fan speed as needed. Once the cycle finishes, a buzzer sounds and a pop-up message appears; the device automatically switches to conservation mode based on predefined parameters.
For slow cooking, the process is similar but includes an Autoclima setting that controls humidity. The manual recommends preheating the chamber before inserting food. At the end of cooking, the holding function can maintain a set temperature until you are ready to serve.
Special functions for better results
The NEO blast chillers include several special functions accessible from the touchscreen. Precooling should be used before a +3°C blast chilling or -18°C shock freezing cycle. Press the precool icon, set the desired temperature, and wait for the buzzer to indicate the chamber is ready. Preheating works the same way before a slow cooking cycle.
Defrosting can be started manually by touching the Defrost icon; it will also start automatically during conservation cycles when the evaporator temperature is below 3°C (37.4°F). The drying function is useful after washing the chamber or before low-temperature cooking that requires a dry environment. Choose between soft drying (about 40 minutes) and hard drying (about 80 minutes).
If the needle probe becomes stuck in frozen product after blast freezing, use the needle probe heating function. This can only be activated when the probe temperature is below -5°C (23°F). The heating cycle stops automatically once the probe can be safely extracted.
Cleaning and routine care
Cut the power before any maintenance and wear gloves. The operator does only routine maintenance, meaning cleaning; anything more is for an authorised technician. Never use abrasive or powder detergents, corrosive products such as hydrochloric or sulphuric acid or caustic soda (not even on the floor under the unit), abrasive sponges, scrapers, steel brushes, or steam or pressurised water jets.
At first use, wash the trays and chamber with a cloth dampened in hot soapy water, rinse and dry, then run the unit empty on Slow Cooking for about 30 minutes. Clean the chamber daily once it is cool, because grease or food residue could catch fire during slow cooking: hot soapy water on a cloth, then rinse and dry. The optional shower head connects under the door; remove the chamber plug so the water drains, never leave the shower kit in place while the unit runs, and finish with a drying cycle (soft, about 40 minutes, or hard, about 80).
Wipe the outside with hot soapy water or a steel cleaner, then rinse and dry, and clean the touch screen with a cloth only slightly dampened with a glass cleaner. Vacuum or brush the vents often, and once a week take off the front panel and wash the filter behind it in hot soapy water. For a long shutdown, cut the power and water, wipe the steel with a little Vaseline oil and leave the door ajar; before restarting, clean it, inspect it and run it empty at a low temperature for at least 60 minutes. Lainox recommends a service visit by an authorised centre at least once a year.
Troubleshooting and service
The manual's checklist comes before any service call. If the unit is fully off, check that it has power and the plug is in. If it does not cool enough, check for a nearby heat source, that the doors are fully shut, that the condenser filter is not clogged, that the front vents are clear, that food is spread so air can circulate, and that the unit is not overloaded (the limit is 65 kg, 143 lb, evenly spread per tray or rack). If it is very noisy, check that it touches nothing else, is level and has its visible screws tight.
Alarms show at the top of the display with a buzzer you mute by touching the screen. A door open alarm stops the compressor and clears when the door closes. High and low temperature alarms during storage clear when the temperature returns and are saved in the HACCP log. After a blackout, the cycle resumes where it left off. The chamber, evaporator and needle probe alarms, the high and low pressure alarms, the compressor overload alarm and the safety thermostat alarm all say to contact customer service. If the unit stops working, disconnect it from the power and water mains and call a service centre authorised by the manufacturer with the code and serial number from its plate; do not attempt repairs yourself.
Common questions
What is the difference between positive and negative chilling?
- Positive chilling lowers the food's core temperature to +3°C (37.4°F) within 90 minutes and is used when the food will be eaten within 5 days. Negative chilling, or shock freezing, brings the core to -18°C (-0.4°F) for long-term frozen storage of 3 to 18 months, depending on the product.
How do I use the needle probe correctly?
- Insert the needle probe fully so its tip reaches the centre of the food, avoiding fatty areas and bones. For thin items, insert it parallel to the support surface. If it freezes into the product after shock freezing, use the needle probe heating function, which works once the probe is below -5°C (23°F).
How do I start a manual blast chilling cycle?
- Press the Manual mode icon and select Blast chilling. The unit starts with a default temperature and an infinite time; you can adjust the temperature, switch from a timed process to the core probe, and set the fan speed. At the end a buzzer sounds and the chiller switches to conservation.
What routine maintenance does the unit need?
- Clean the chamber every day once it is cool, vacuum or brush the vents often, and once a week remove the front panel to wash the filter behind it in hot soapy water. Keep the defrost water drain hole clear, and have the unit serviced by an authorised centre at least once a year.
What should I do if an alarm appears on the display?
- Read the alarm at the top of the display and touch the screen to mute the buzzer. A door open alarm clears when the door is closed and temperature alarms clear when the temperature returns; probe, pressure, compressor overload and safety thermostat alarms mean contacting an authorised service centre. Do not attempt repairs yourself.