
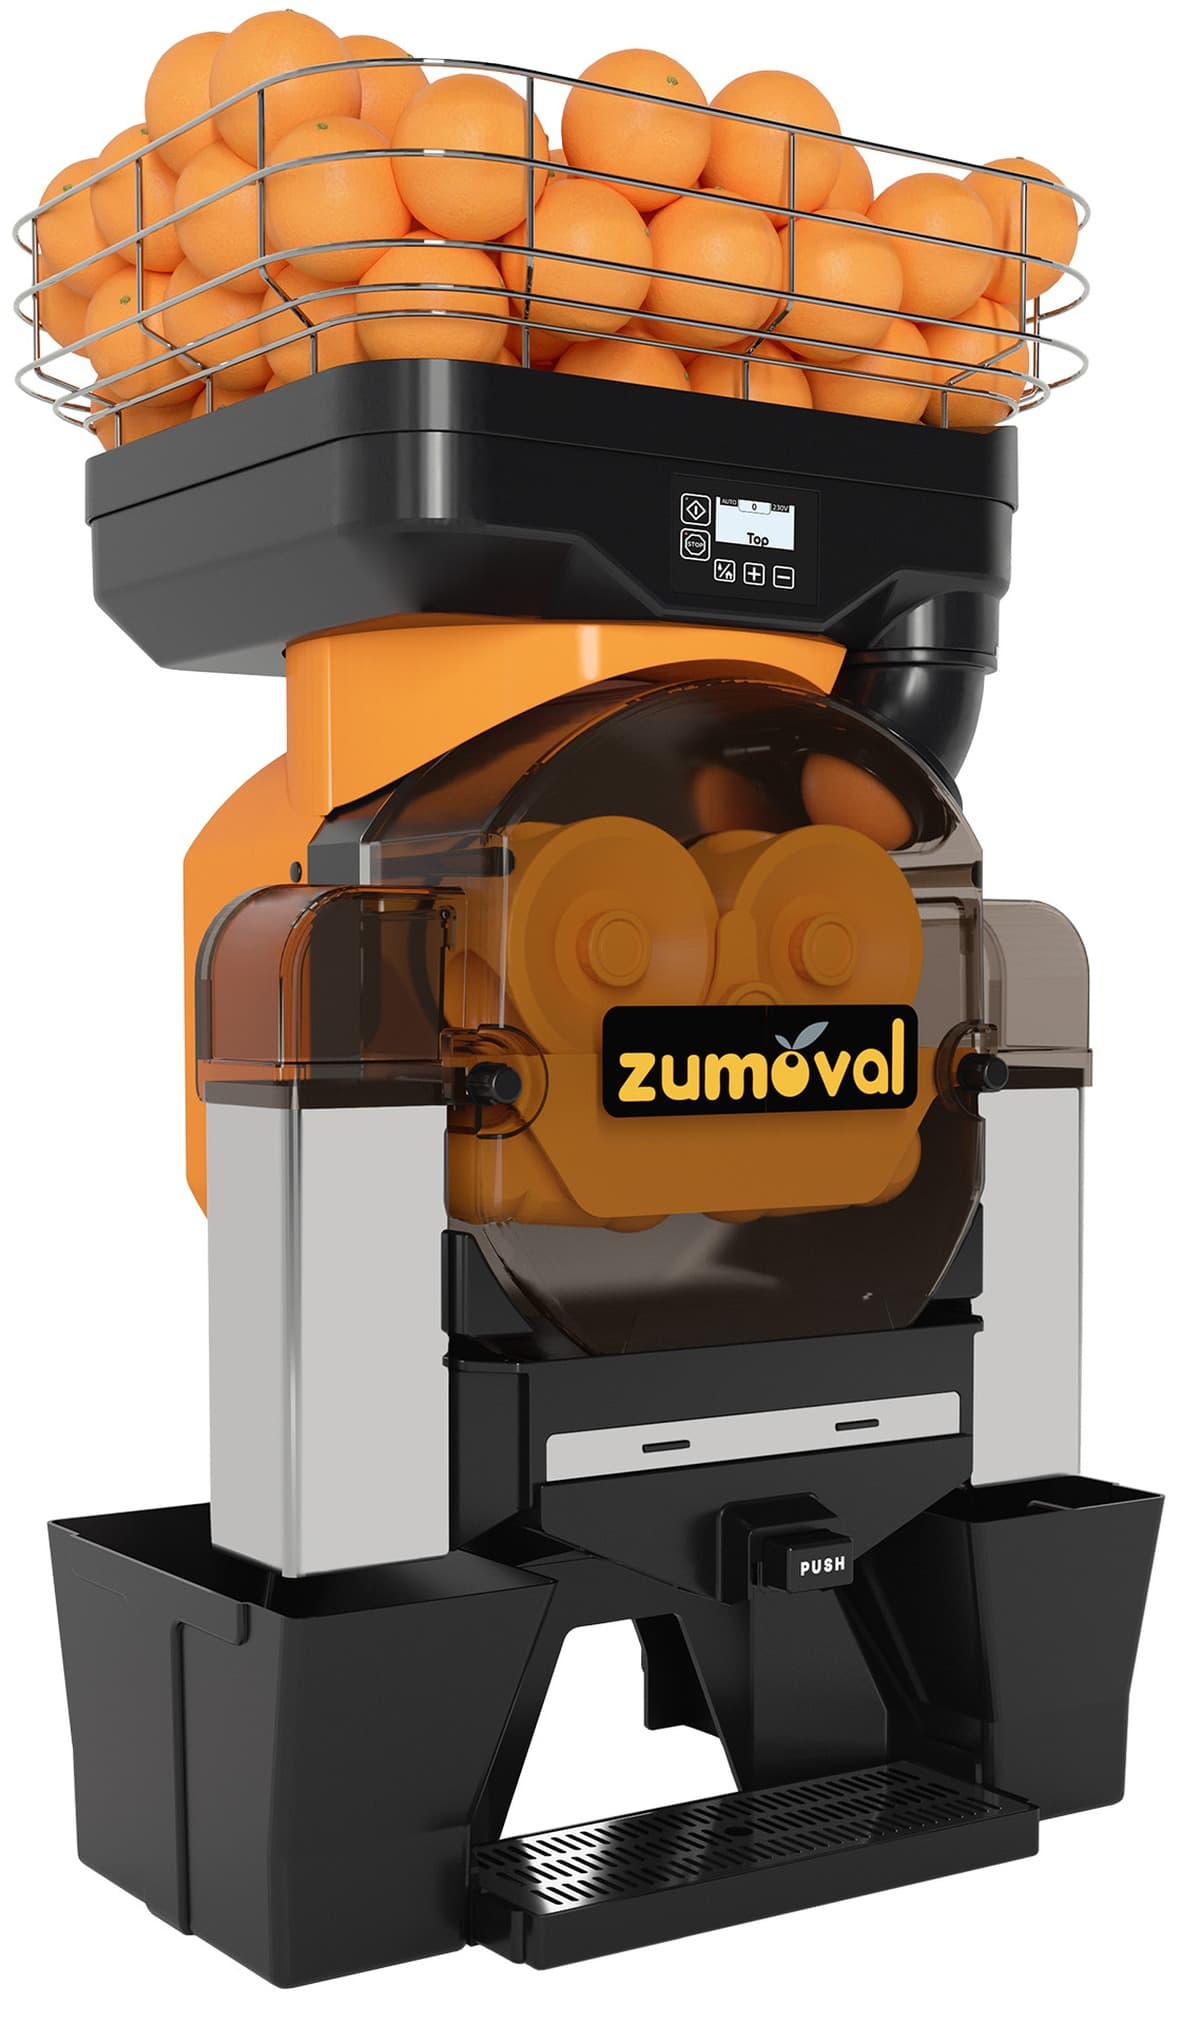
This guide covers daily operation, cleaning, and basic troubleshooting for Zumoval automatic citrus juicers. Follow the manufacturer's instructions for your specific model to keep the machine running safely and efficiently.
Key takeaways
- Always unplug the machine and activate maintenance stop before cleaning.
- Use only cold water and mild detergent; never abrasive cleaners or pressure washers.
- A qualified installer must handle electrical and water connections to local code.
- Refer to the troubleshooting table in your manual for common issues like blockages or warning lights.
- For service, contact the manufacturer's authorized network; ask Norpex for model-specific questions.
Models and manuals
The Zumoval automatic citrus juicers in our list are the Minimax, Minimatic, Top, FastTop, and Big Basic. The Minimax and Minimatic models (items 39517, 39518, 39519, 39520, and their variants) are covered by the instruction manual for those item numbers. The Top, FastTop, and Big Basic models (including items 47989, 47990, 47960, 48009, 40531, and 41965) are covered by the manuals for the newer N-series and the earlier 45-series. Check the model number on your machine's identification plate to confirm which manual applies.
The Big Basic takes larger fruit than the other models; the maker's video 'ZUMOVAL BIGBASIC LEMONS' shows one at work.
Installation
All Zumoval juicers require a grounded 110–120 V, 60 Hz single-phase outlet. The manufacturer's manual states that the machine should be placed on a dry, stable, and level surface indoors, with adequate ventilation around it. A qualified installer makes the electrical connection to local code.
For models equipped with the self-cleaning system, a cold-water supply line with a G 1/4" female thread must be connected to the rear socket. The manual specifies a water pressure between 1.5 and 3 bars. A licensed plumber should make this connection.
Assembly steps vary by series. For Minimax: unscrew the thumbscrew, place the feeder tube, and set the peel bucket and juice tray. For Minimatic: also unscrew the head feeder screw before mounting the feeder tube. For Top and FastTop: place the basket, remove the filter and cover screen, fit the feeding tube, replace the cover screen and filter, then place the peel buckets and juice tray. For Big Basic: place the peel bucket and juice tray; no feeder basket assembly is needed. If your model includes a stand, set the brakes on the front wheels to prevent movement.
Daily operation
Minimax and Minimatic models use a simple on/off switch located at the upper right side. Turn the switch to I to start. Depending on the model, you may have a self-service tap, a programmer with red buttons for 1, 2, or 3 oranges and a continuous button, or a juice level detector. The manual for these models details each control: for the self-tap, turn the self switch to AUT and press the tap; for the programmer, push the desired button; for the level detector, turn the detector switch to AUT. To stop, press the 0 red button or close the tap.
Top, FastTop, and Big Basic models with the digital control panel (items 47989, 47990, 47960, 48009) are activated by pressing the switch on the back, then pressing and holding the Start button for 2 seconds. Use the + and – buttons to choose continuous mode (set to 0) or selector mode (set the number of oranges). Press Start to begin squeezing. For models with the stainless steel self-tap option, ensure the green Ready LED is lit, then turn on the tap. For the level detector option, press Start to activate; the machine will run until the tank reaches maximum level or Stop is pressed.
The self-cleaning function, when available, is started by pressing the Home button while the machine is running, after locking the feeder to stop fruit from entering. The cycle runs for the duration set in the configuration menu. The automatic filter, if present, moves during squeezing and stops 10 seconds after the process ends.
Cleaning and maintenance
The manufacturer's manuals stress that cleaning must be performed daily, immediately after use, before residues dry. Always unplug the machine and activate the maintenance stop function (press and hold Stop and Home simultaneously on digital models) so that the squeezing males and drums are in the correct position for disassembly.
For Minimax and Minimatic: empty the waste bin, remove the front cover, slide the positioner upward, unscrew the knifepiece (caution: sharp blade), unscrew the thumbscrews to release the males and drums, remove them, and pull out the ejector. On Minimatic, also remove the turning feeder plate by unscrewing its thumbscrew. Wash all parts with cold water and mild detergent. The manual states that parts except the cover can be washed in a dishwasher at a maximum temperature of 40 °C. Do not use abrasive cleaners, solvents, or pressurized water. Dry all components thoroughly before reassembly.
For Top, FastTop, and Big Basic: remove the juice filter, empty the peel buckets, take out the drip tray and down tubes. Unscrew the knobs holding the cover, remove the cover, then unscrew the central knob and splash guard. Extract the central blade (sharp) by pulling it forward. Unscrew the four knobs securing the drums and squeezers, remove the two squeezers and two drums, and slide out the feeder tube. On models with a feeder basket, unscrew the knob securing the turning feeder plate and remove the plate and basket. Clean all parts as described above. The stainless steel self-tap must be disassembled periodically: unscrew the knurled nut and the knurled thread underneath the actuator, then clean with a brush and detergent.
The automatic shower system provides a quick rinse during the day but does not replace the full daily cleaning.
Troubleshooting
The instruction manuals include a troubleshooting table. If the machine does not operate, check that it is plugged in, the outlet has power, and the transparent front cover is correctly seated. If the machine blocks while squeezing, verify that the supply voltage matches the label and that the fruit diameter is within the specified range (65 to 80 mm for most models and 75 to 90 mm for the Big Basic and BigTop, according to the manual). Frequent stopping may be caused by covered ventilation grilles or low voltage.
A broken or bent positioner usually indicates a misaligned drum or positioner. A blocked tap is often due to seeds or excessive pulp; disassemble and clean the tap as described in the manual. If the counter increases incorrectly, unplug the machine and plug it back in after a few minutes.
The digital display shows warning messages for specific conditions: front cover not properly assembled, maintenance stop reached, motor overheating, voltage out of range, control fuse blown (replace with 10 A fuse), full dispenser during automatic shower, or peel basket full. To clear a warning, resolve the cause and press the Stop button.
Service and support
For any repair or electrical issue, contact the manufacturer's authorized service network. If you have questions about which model suits your operation, ask Norpex.
Videos from the maker
Common questions
What fruit sizes can each Zumoval model handle?
- The manual gives 65 to 80 mm as the best fruit diameter for most models and 75 to 90 mm for the Big Basic and BigTop. Fruit outside the range for your model can block the machine while it squeezes.
Can I put the juicer parts in a dishwasher?
- Yes, according to the manufacturer's manual, all removable parts except the cover can be washed in a dishwasher at a maximum temperature of 40 °C. The manual also says to clean the parts and the machine block with cold water and detergent, never abrasive products, solvents or pressurized water.
How do I activate the self-cleaning cycle?
- On models with the self-cleaning option, first lock the feeder to stop fruit from entering. Then, while the machine is running, press the Home (self-cleaning) button. The shower will run for the duration set in the configuration menu and stop automatically.
What should I do if the machine displays a warning and stops?
- Check the display for the specific warning (e.g., front cover open, peel basket full, motor overheating). Resolve the issue—such as emptying the peel basket or letting the motor cool—then press the Stop button to clear the warning. If the warning persists, the cause has not been fully resolved.
Do I need a technician to install the water connection for the self-cleaning system?
- Yes. The manual specifies a G 1/4" female thread connection with water pressure between 1.5 and 3 bars. A licensed plumber must install the water line according to local plumbing codes.